Macro Practice…

Canon 50mm Macro; 1/20s @ f2.5

Canon 50mm Macro; 0.5s @ f8.0

Canon 50mm Macro; 1.6s @ F16
Now I shot the same series with my 150mm lens. This time I had a working distance of 23 inches to get the same magnification, which gives you a lot more room. Also notice that in the depth of field series, the overall depth of field is shallower. This allows you to isolate subjects more in the field, while the 50mm would be better if you wanted to show more of the environment immediately surrounding the subject.

Sigma 150mm Macro; 1/25s @ f2.8
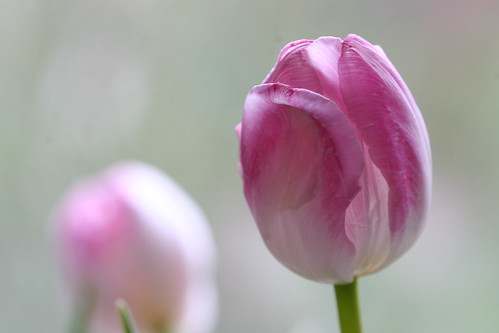
Sigma 150mm Macro; 0.3s @ f8.0
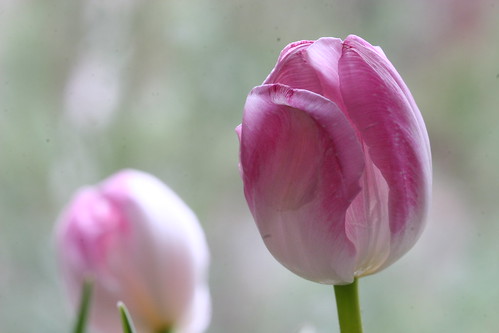
Sigma 150mm Macro; 1.6s @ F16
Another interesting thing to practice with is maximum magnification of a lens. There reaches a point where the subject becomes to close for the lens to focus upon. When you move this close, the depth of field becomes extremely small. Here’s two maximum magnification shots with the 50mm with a working distance of about 2 inches.
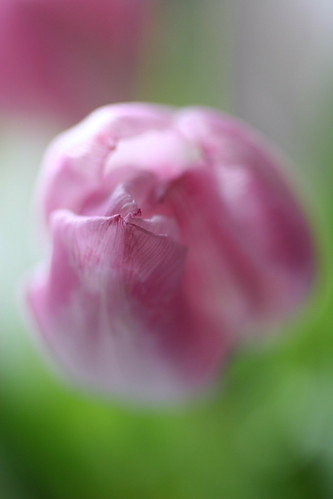
Canon 50mm Macro; f2.5 at Maximum
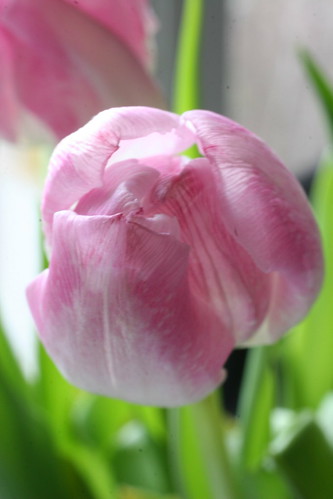
Canon 50mm Macro; f16 at Maximum
And here’s two maximum magnification shots of the 150mm, with a working distance of about 7 inches.
Sigma 150mm Macro; f2.5 at Maximum
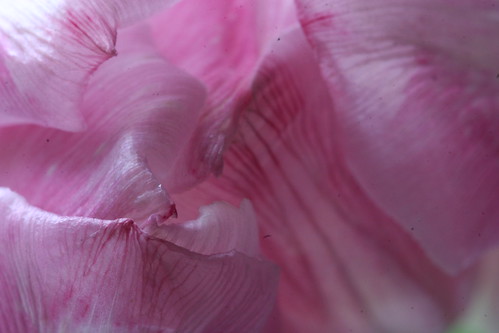
Sigma 150mm Macro; f16 @ Maximum
You will notice that the 150mm appears much bigger in the frame, which is a function of the fact that it offers 1:1 magnification. What that means is that the subject is projected upon the sensor through the lens at the same size as it is in real life. Then when you blow it up…you get apparant magnification!
The last series that I shot was adjusting my lenses to shoot beyond maximum magnification. To do so, you have to attach extension tubes, which allow for closer focusing, less working distance, and amazingly, the exact same depth of field. When you add a 12mm extension tube, it makes a significant difference to a 50mm lens, but not much to a 150mm lens.
Canon 50mm w/12mm Extension; f2.5 Beyond Maximum

Sigma 150mm w/12mm Extension; f2.8 Beyond Maximum
A couple of last notes. First off, these shots would not be possible without a tripod. When you are dealing with compositions so slight, and exposures so long, you need a rock of a tripod to rest your camera upon. Any movement that you make with a macro lens is dramatically magnified, so handholding is usually out of the question.
Additionally, focusing manually is also important, as the lens auto focus has little idea what do do with a macro composition. Select the object most important to your composition, keep it sharp, and let the rest fall into an artistic blur that you control with your depth of field through the aperture setting.
Finally, it is great fun to work through the exercize of getting to know your lens, and I hope you found this helpful. Besides the benefits of practicing, I learned something else today…my sensor is REALLY dirty. Gotta do something about that before the hepatica emerge in the next two weeks!


Good article as usual, Jim! And regarding the wind that Jim mentioned early on – don’t be afraid to take 10-20 shots of the same subject! This isn’t film, and space on a memory card is cheap! I remember a year or so ago on a hike, seeing a bumble bee on a spring bud. It was a windy ridge and my shots were hand-held. I took about 15 shots but only two were sharp – I was glad I took the multiple exposures!
I don’t have a “true macro” lens any longer but do use my fixed lenses quite a bit, the Nikon 35mm 1:1.8G and also have a Nikon 50mm f1:1.4 but find I’m more comfortable and get better results with the 35mm f1:1.8G. I’m a fan of F8 and don’t be late…! Wind, oh yes, rare when the wind doesn’t blow in Vermont.
Lots of great info above.. will bookmark this page. Very useful.
Thanks Jim…!
A few of my wildflower shots.
http://bitzyvt.smugmug.com/Photography/Vermont-Wildflowers/10614964_XZtvz#757267837_SiGcN
Sweet article Jim. We (Garden Artisans) are gearing up for our season and we’ve picked out some AMAZING NH native wildflowers that we’re picking up when spring “officially” gets here. That’s the amazing the about working w/ an organic landscape company…natives are our tip-top priority. I’ll post some shots to flickr before too long.
Cheers
Good article Jim have you tackled bugs on those flowers with that macro? That’s even harder and yet more rewarding. I love the diffusion you get with the macro. I have a sigma fixed 2.8 aperture and love getting in close…
See you on the fan page..
Thanks all for the comments…
Linda…glad you made your way over here…great collection of shots and a nice reminder that you don’t need a dedicated macro lens to shoot flowers. If you need to get more magnification, you can always try extension tubes. My favorite shot in the series is the Maidens Tears on page 1!
Will…sounds like you got a nice project ahead of you this year…and your employers got a nice value in your photo skills!
Bruce/Yankee…I always appreciate shots with insects in them…but I’m on a streak of poor luck with em. Something to work on this year!
Jim, what a wonderful article – and how generous of you to share your knowledge. Is there ANYTHING you don’t photograph well? Thanks for the great tips, and keep on shooting!